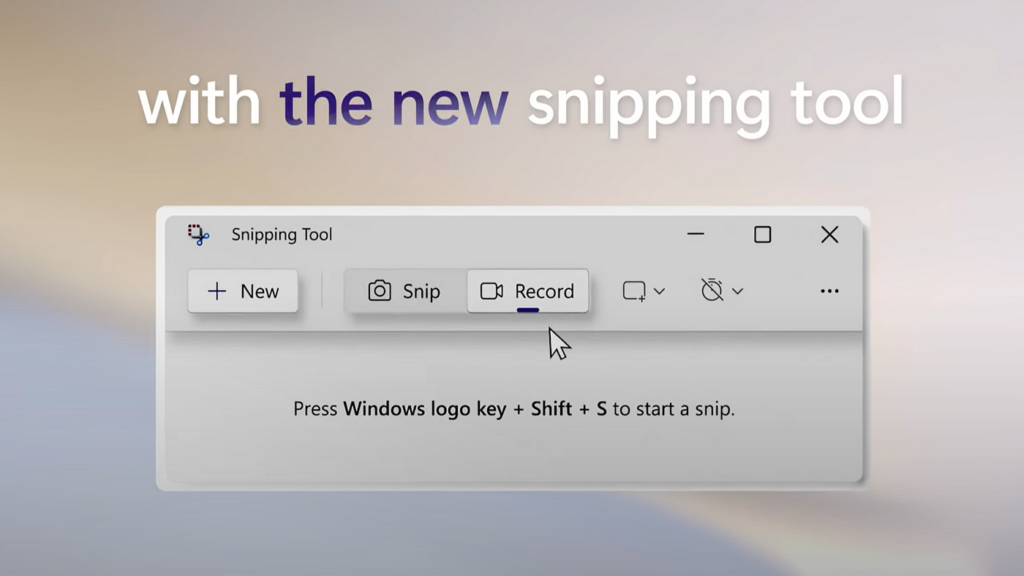
The Snipping Tool, a valuable screenshot utility included in Windows, offers an intuitive way to capture and share snippets of your screen. Whether you’re creating tutorials, documenting bugs, or simply want to share what’s on your screen, mastering the Snipping Tool can significantly streamline your workflow. This article delves into everything you need to know about using the Snipping Tool, from basic functionality to advanced tips and tricks.
Understanding the Snipping Tool
Before diving into how to use the Snipping Tool, let’s understand what it is and its capabilities. Introduced in Windows Vista, and available up to Windows 10 (replaced by Snip & Sketch in Windows 11), the Snipping Tool allows users to capture specific portions of their screen. Unlike the traditional Print Screen button that captures the entire screen, the Snipping Tool provides flexibility in screenshotting only what you need.
Launching the Snipping Tool
Accessing the Snipping Tool is straightforward. On most Windows versions, you can find it by searching for “Snipping Tool” in the Start menu search bar. Once open, you’ll be greeted with a simple interface offering several options: “New,” “Mode,” “Delay,” “Cancel,” and “Options.”
Capture Modes
The Snipping Tool features four main capture modes, enabling users to select the best method for their needs:
- Free-form Snip: Draw an irregular shape around the area you want to capture.
- Rectangular Snip: Drag the cursor to form a rectangle around the desired area.
- Window Snip: Select an entire window to capture.
- Full-screen Snip: Capture the whole screen, useful for dual-monitor setups.
Taking Your First Snip
To take your first snip, choose the desired mode from the “Mode” dropdown, then click “New.” Your screen will fade slightly, indicating you can select the area you want to capture. For a rectangular or free-form snip, click and drag your mouse around the area. For window or full-screen snips, simply click on the window or press enter to capture the whole screen.
Advanced Features and Tips
Beyond basic screen captures, the Snipping Tool offers additional features that enhance its utility.
Delayed Snips
The Delay feature allows you to set a timer, giving you time to prepare your screen for capture. This is particularly useful for capturing dropdown menus or tooltips that disappear when you click away. To use this feature, click on the “Delay” dropdown, select the number of seconds, then press “New.” Prepare your screen accordingly, and the snip will be taken after the delay period elapses.
Annotating Snips
Once you’ve captured a snip, the Snipping Tool editor opens, offering tools to annotate your screenshot. You can use the Pen tool to draw freehand, the Highlighter to emphasize specific areas, and the Eraser to remove annotations. These annotations can help draw attention to important parts of your snip or add explanatory notes.
Saving and Sharing Snips
After capturing and annotating your snip, you can save it as an image file by clicking “File” > “Save As” and choosing your preferred format (PNG, GIF, JPEG, or MHT). The Snipping Tool also allows you to directly share your snips via email by clicking “File” > “Send To” > “Email recipient,” streamlining the process of sharing screenshots for collaboration.
Best Practices
To get the most out of the Snipping Tool, consider these best practices:
- Plan Your Snip: Before capturing, think about what you need to include in your screenshot to make it clear and informative.
- Use Annotations Wisely: While annotations can enhance your snips, overusing them can make the screenshot cluttered and hard to understand. Use them sparingly and purposefully.
- Practice for Perfection: Familiarize yourself with the different modes and features through practice. Over time, you’ll discover the most efficient ways to capture and share your screen content.
Conclusion
The Snipping Tool is a powerful, yet underutilized, feature of the Windows operating system. By learning how to effectively use its various modes and features, you can enhance your productivity and communication. Whether you’re a professional creating tutorials, a student preparing a presentation, or anyone in need of capturing screen content, the Snipping Tool offers a simple yet versatile solution.
Read Also: How to Screenshot on Android: A Comprehensive Guide
